SnapRAID + mergerfs on Ubuntu 24.04: a modern, flexible home storage stack (with the why)
SnapRAID + mergerfs on Ubuntu 24.04:
A modern, flexible home storage stack
I first wrote about SnapRAID back in 2016. At the time, the goal was simple: figure out a way to pool a bunch of mismatched disks at home, protect them with parity, and avoid the rigidity and lock-in of traditional RAID. That original setup worked well enough that I’ve been running some variation of it ever since.
Here are some pictures of my fileserver over the years. I couldn’t find any of my older versions, so here’s a little sample.
 Fileserver 2010
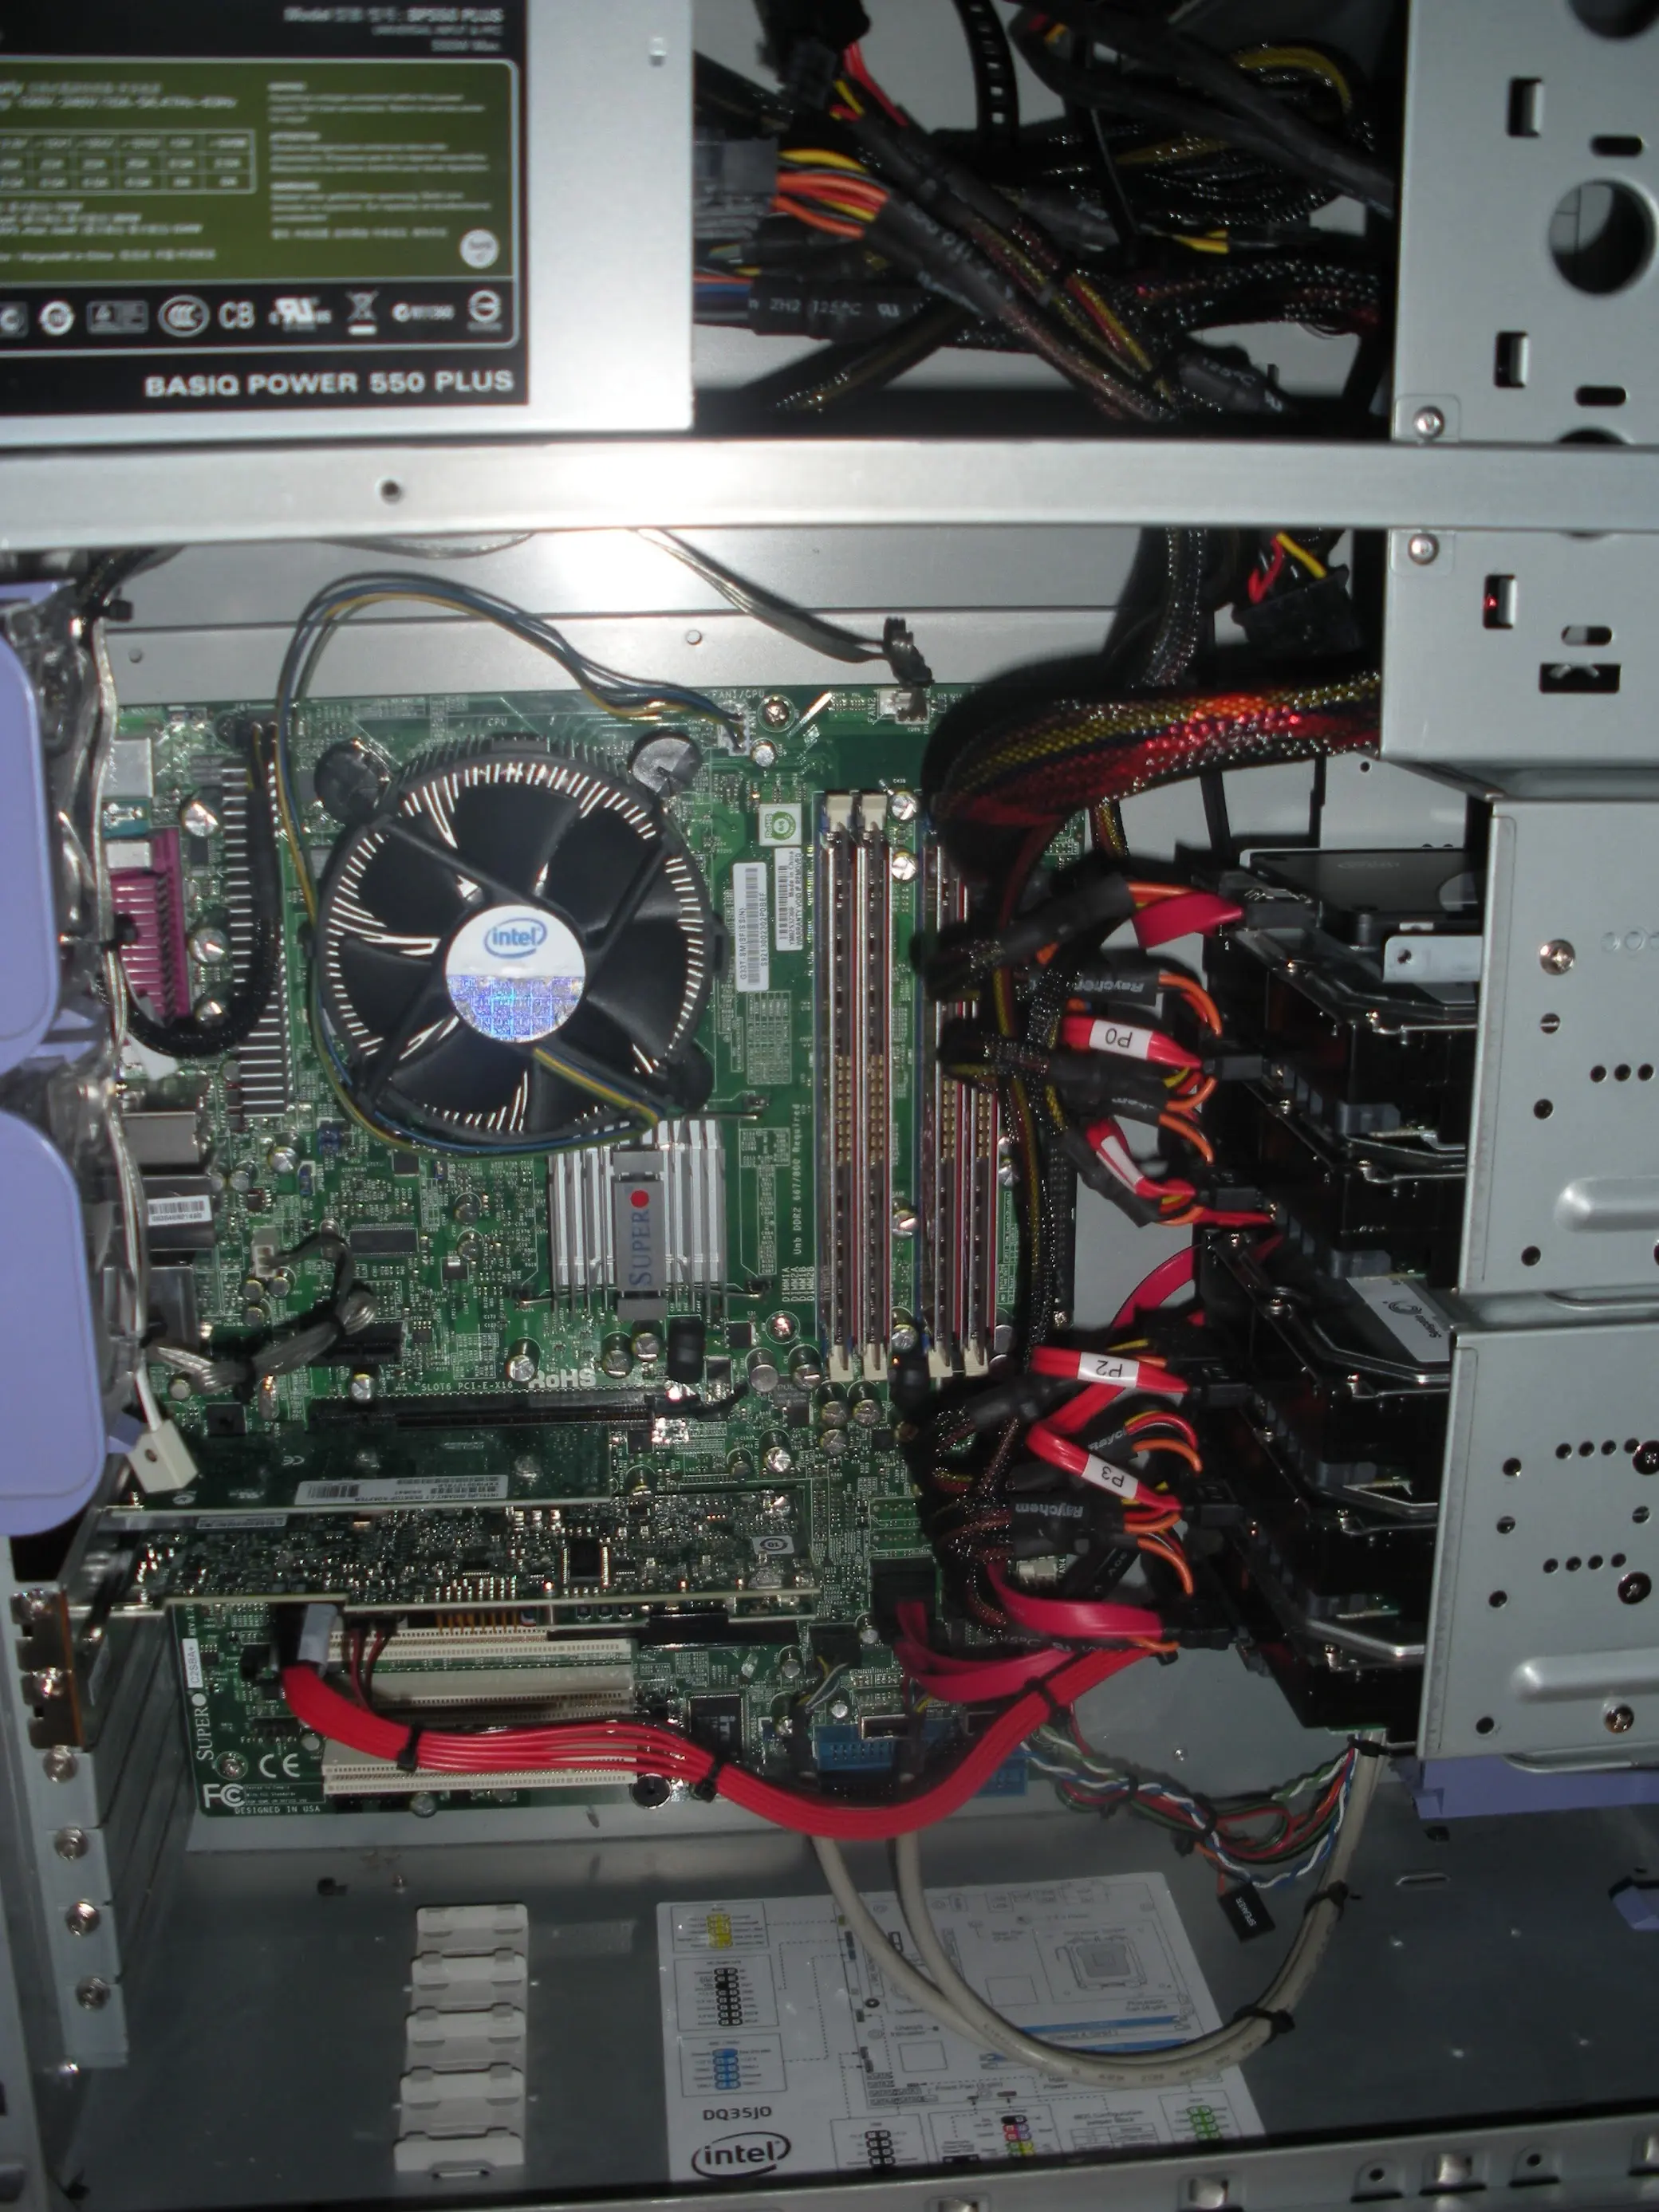
 Fileserver 2014
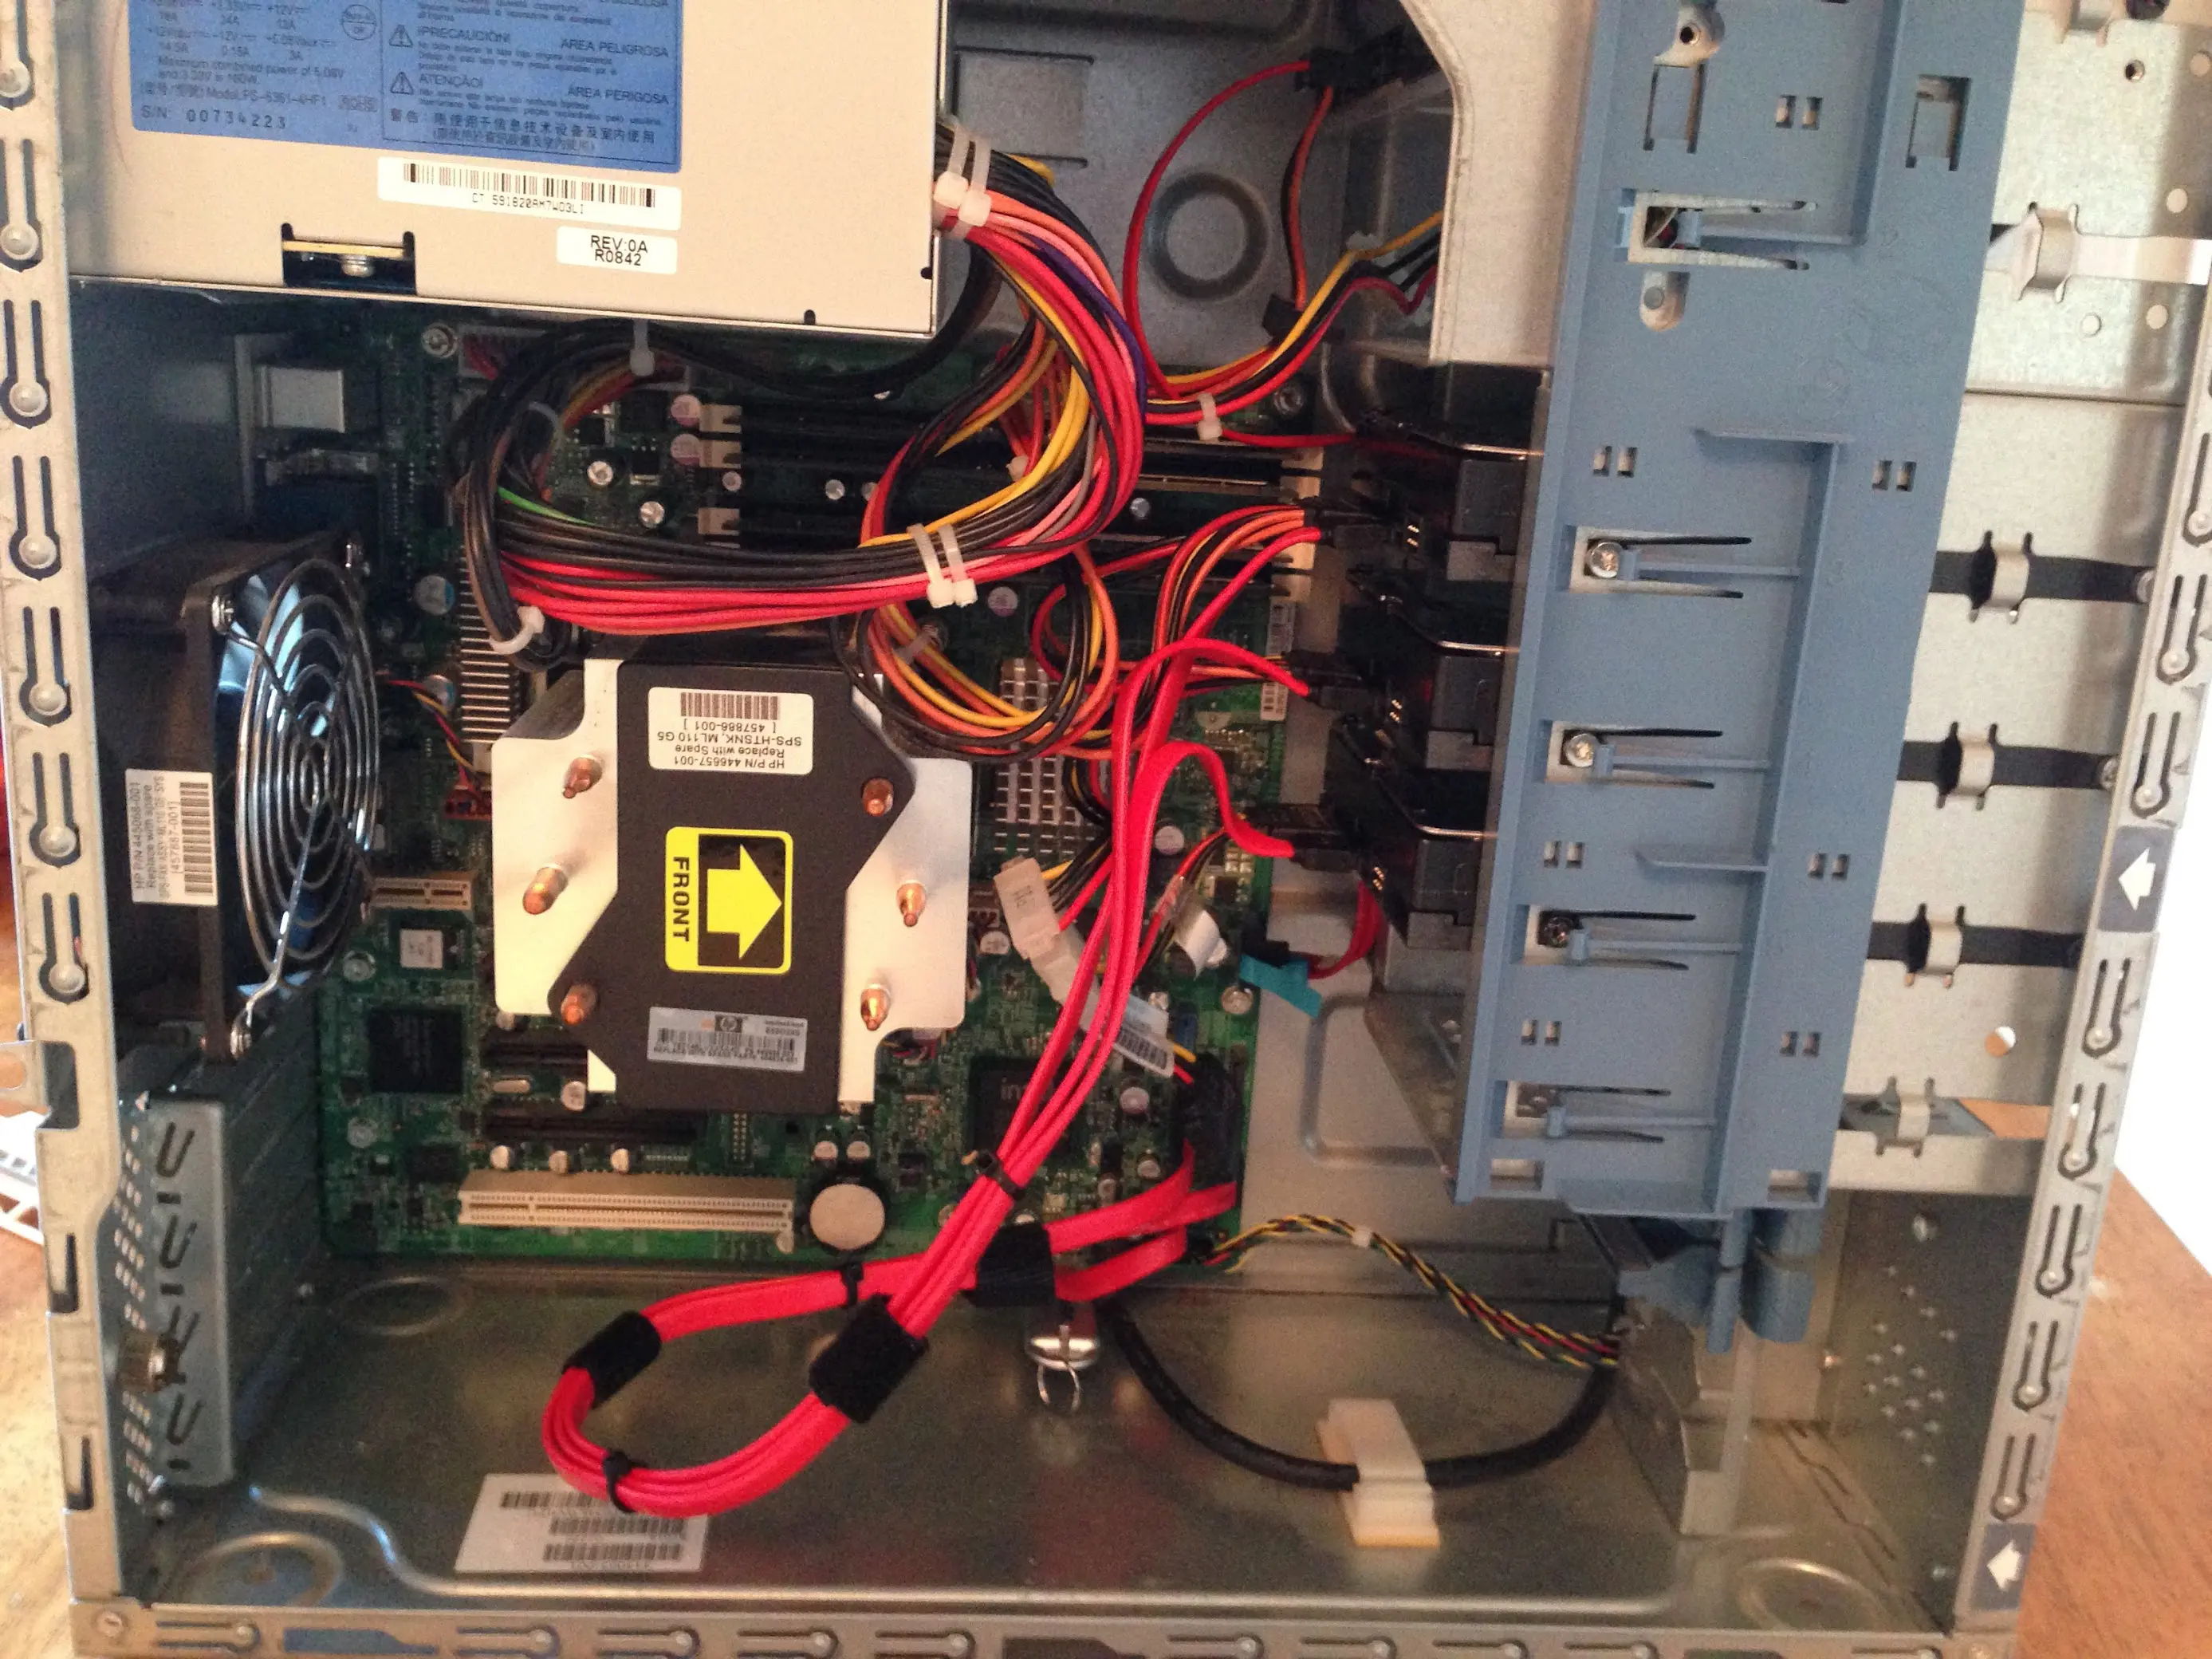
 Fileserver 2015
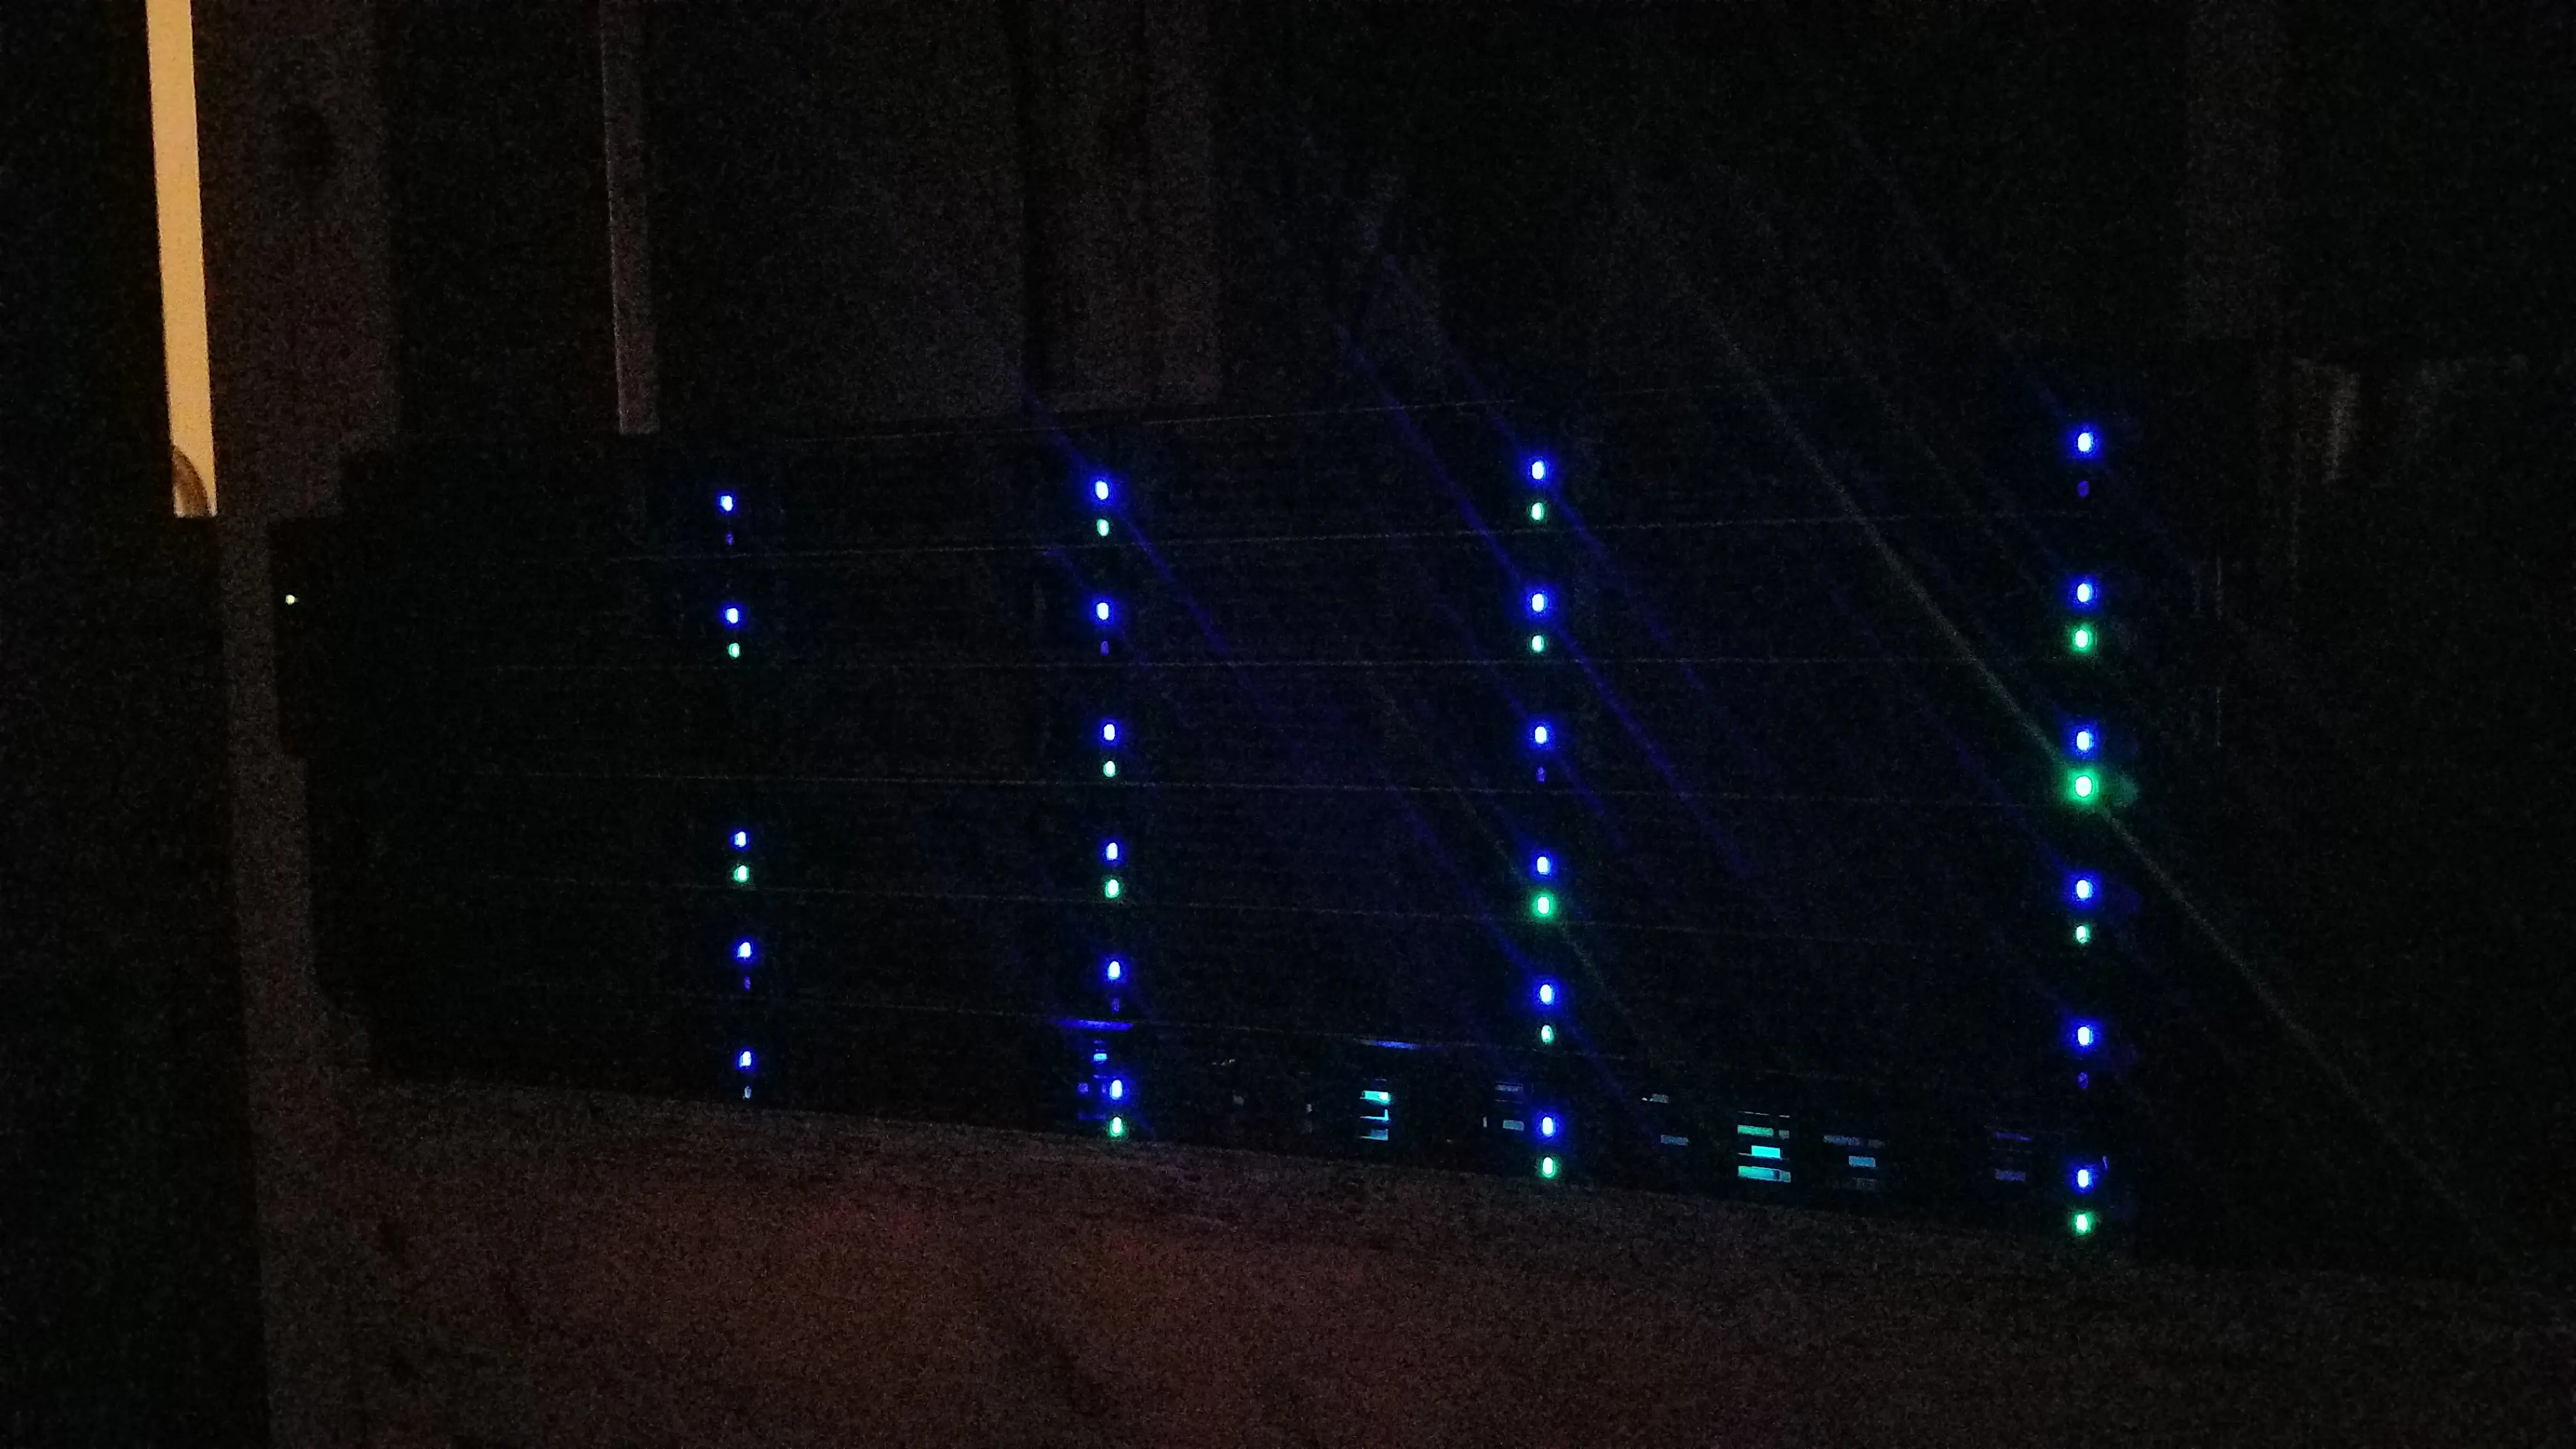 Fileserver 2016
Onto my current build… A lot has changed over the years.
Linux has moved on. Filesystems have matured. mergerfs has evolved significantly. SnapRAID itself has continued to improve. My own expectations around safety, automation, and “don’t wake me up at 2am because your video won’t play” have also changed.
This post is a from-the-ground-up refresh of that original tutorial, updated for Ubuntu 24.04 and modern kernels, and written with the benefit of years of actually living with this setup in production. The core ideas are the same, but the details matter more now:
- tighter setup instructions
- updated to use the newest mergerfs policies for modern kernels
- a stronger emphasis on why certain things should not be automated blindly
If you’re coming from the original 2016 post, consider this the version I wish I had written back then that combines SnapRAID and mergerfs into one complete solution.
If you’re new to SnapRAID and mergerfs, this guide is meant to get you to a correct, understandable, and stable baseline. It deliberately stops short of automation. That’s not an oversight. Automating SnapRAID safely deserves its own discussion, and I cover that separately.
The goal here is to help you build something that’s flexible, transparent, and boring in the best possible way. Once you have that foundation, you can decide how far you want to take it.
Let’s get into it.
What we’re building (and why)
Goal: A big pile of “normal” disks that:
- Shows up as one folder (that’s mergerfs)
- Has parity protection against disk failure (that’s SnapRAID)
- Doesn’t trap your data in RAID metadata
- Lets you add a disk whenever you feel like it
- Keeps reads mostly on one spinning disk (nice for power/noise)
SnapRAID is not traditional RAID. It’s a parity + checksum system designed for large mostly-static data (media libraries are the classic example).
Mergerfs is not RAID either. It’s a union filesystem that makes many paths look like one. It’s basically a “smart folder merger” with policies that decide where new files get created.
The combo works great because SnapRAID wants “independent disks with normal filesystems”, and mergerfs gives you the convenience of “one mount point” without changing how disks are laid out underneath.
A quick picture of the layout
Let’s say we have:
- Data disks:
/mnt/disk1,/mnt/disk2,/mnt/disk3,… - Parity disk(s):
/mnt/parity1(and maybe/mnt/parity2) - One pooled mount:
/storage
1
2
3
4
5
/mnt/disk1   -> normal ext4/btrfs/xfs filesystem
/mnt/disk2   -> normal ext4/btrfs/xfs filesystem
/mnt/disk3   -> normal ext4/btrfs/xfs filesystem
/mnt/parity1 -> normal ext4/btrfs/xfs filesystem holding parity files
/storage     -> mergerfs mount that merges /mnt/disk* into one view
Important: SnapRAID runs against the underlying disks, not the pooled /storage mount. (We’ll still use /storage for day-to-day reads/writes.)
Step 0: Install baseline packages
1
2
3
sudo apt update
sudo apt dist-upgrade -y
sudo reboot
After reboot:
1
2
sudo -i
apt install -y curl wget git build-essential smartmontools lm-sensors gdisk parted fuse3
Step 1: Identify disks (so you don’t nuke the wrong one)
This is the moment where you slow down.
1
lsblk -o NAME,SIZE,MODEL,SERIAL,TYPE,MOUNTPOINT
If you’re using SATA/SAS HBAs, also nice:
1
ls -l /dev/disk/by-id/
Why we care: device names like /dev/sdb can change across boots/HBA swaps. /dev/disk/by-id/… is stable and is what you want for fstab and sanity.
Step 2: Partition disks consistently (GPT + one big partition)
Pick one data disk as the template (example: /dev/sdb). This wipes the partition table on that disk.
1
2
3
parted -a optimal /dev/sdb --script \
mklabel gpt \
mkpart primary 1MiB 100%
Now clone that partition layout to other disks (examples):
1
2
3
4
sgdisk --backup=/root/partition-table.sgdisk /dev/sdb
sgdisk --load-backup=/root/partition-table.sgdisk /dev/sdc
sgdisk --load-backup=/root/partition-table.sgdisk /dev/sdd
sgdisk --load-backup=/root/partition-table.sgdisk /dev/sde
Why we do this: consistent partition alignment and structure makes replacements and troubleshooting boring (which is the goal).
Step 3: Format filesystems (ext4 is totally fine)
You can use ext4, btrfs, or XFS. I still default to ext4 for “bulk media on Linux”.
Example formatting (use the correct partition names like /dev/sdb1):
1
2
3
4
5
mkfs.ext4 -m 2 -T largefile4 -L disk1 /dev/sdb1
mkfs.ext4 -m 2 -T largefile4 -L disk2 /dev/sdc1
mkfs.ext4 -m 2 -T largefile4 -L disk3 /dev/sdd1

mkfs.ext4 -m 0 -T largefile4 -L parity1 /dev/sde1
Why these flags:
- -m 0 removes reserved blocks (This can free up many GB of space. I use 2 on my data disks to make sure that my parity disk always has a bit more space than my data disks. This assumes all disks are the same size!)
- -T largefile4 is a decent hint for big-file workloads (Don’t use this if you plan to store smaller files on the disk. You run the risk of running out of inodes on the disk. But, if it will just store large files, this can free up many GB as well.)
Step 4: Create mount points
1
2
3
4
mkdir -p /mnt/disk{1..3}
mkdir -p /mnt/parity1
mkdir -p /storage
mkdir -p /var/snapraid
Step 5: mount by UUID in /etc/fstab
Get UUIDs:
1
blkid
Edit /etc/fstab:
1
2
3
4
5
6
7
# Data disks
UUID=xxxxxxxx-xxxx-xxxx-xxxx-xxxxxxxxxxxx /mnt/disk1 ext4 defaults,noatime 0 2
UUID=yyyyyyyy-yyyy-yyyy-yyyy-yyyyyyyyyyyy /mnt/disk2 ext4 defaults,noatime 0 2
UUID=zzzzzzzz-zzzz-zzzz-zzzz-zzzzzzzzzzzz /mnt/disk3 ext4 defaults,noatime 0 2

# Parity disk
UUID=pppppppp-pppp-pppp-pppp-pppppppppppp /mnt/parity1 ext4 defaults,noatime 0 2
Mount everything:
1
2
mount -a
df -h
Why UUID?: drive letters can change after a reboot. UUIDs are boring and stable.
Step 6: Install mergerfs (Ubuntu package vs upstream)
Ubuntu 24.04 ships mergerfs in the repo, but it may lag behind upstream (which moves fast). So, I prefer to install the latest upstream .deb. Go to the releases page and grab the latest build for your Ubuntu version/arch.
Example installation:
1
2
3
4
5
6
cd /tmp
# replace URL with the latest release artifact for your distro
wget https://github.com/trapexit/mergerfs/releases/download/2.41.1/mergerfs_2.41.1.ubuntu-noble_amd64.deb
dpkg -i mergerfs_2.41.1.ubuntu-noble_amd64.deb
rm -f mergerfs_*.deb
mergerfs -V
Step 7: Create the mergerfs pool mount in /etc/fstab
Here’s a modern fstab line that pools /mnt/disk* into /storage.
1
2
# mergerfs pool
/mnt/disk*  /storage  fuse.mergerfs cache.files=off,moveonenospc=true,cache.files=off,category.create=pfrd,func.getattr=newest,dropcacheonclose=false,minfreespace=20G,fsname=mergerfsPool  0  0
Then:
1
2
mount -a
df -h
The options, explained (the “why”)
cache.files=off+dropcacheonclose=false: recommended default options for kernel version 6.6+. if your kernel is older than that, check the documentation for mount options.moveonenospc=true: Since mergerfs does not offer splitting of files across filesystems there are situations where a file is opened or created on a filesystem which is nearly full and eventually receives a ENOSPC error despite the pool having capacity. Themoveonenospcfeature allows the user to have some control over this situation.category.create=pfrd:pfrdwas chosen because it prioritizes placement to branches based on free space (percentage wise) without overloading a specific branch asmfs,lus, or other policies could when a singular branch has significantly more free space (from mergerfs docs)minfreespace=20G: keep breathing room so a disk doesn’t get filled to the brimfsname=mergerfsPool: makesdf -hreadable instead of printing every branch mount
Enable allow_other support:
1
sed -i 's/^#user_allow_other/user_allow_other/' /etc/fuse.conf
Step 8: install SnapRAID (v13.0 as of now)
SnapRAID’s current release is 13.0.
You can build from source (which is what my older guide shows). I’ll keep that approach because it’s consistent and keeps you current.
1
2
3
4
5
6
7
8
9
10
11
12
13
cd /tmp

# replace this with the latest tag if needed
wget https://github.com/amadvance/snapraid/releases/download/v13.0/snapraid-13.0.tar.gz
tar xzf snapraid-13.0.tar.gz
cd snapraid-13.0

./configure
make -j"$(nproc)"
make check
make install
cd ..
rm -rf snapraid-13.0*
Verify:
1
snapraid --version
Step 9: Create /etc/snapraid.conf
Start with a clean file:
1
nano /etc/snapraid.conf
Here’s a solid baseline. Adjust disk paths and counts.
1
2
3
4
5
6
7
8
9
10
11
12
13
14
15
16
17
18
19
20
21
22
23
24
25
26
27
28
29
30
31
32
33
34
35
36
37
38
###############################################################################
# SnapRAID config (Ubuntu 24.04 + mergerfs)
###############################################################################

# Where SnapRAID stores content files (metadata) for each disk.
# Put ONE on each data disk, plus one on parity, plus an extra on SSD.
# The goal: if a disk dies, you don't lose all content files with it.

content /var/snapraid/snapraid.content
content /mnt/disk1/.snapraid.content
content /mnt/disk2/.snapraid.content
content /mnt/disk3/.snapraid.content
content /mnt/parity1/.snapraid.content

# Parity file(s) live on parity disk(s)
parity /mnt/parity1/snapraid.parity

# Data disks (these are the real disks, not /storage)
data d1 /mnt/disk1/
data d2 /mnt/disk2/
data d3 /mnt/disk3/

# Optional: exclude junk you don't want hashed/parity protected
# (tweak to your environment)
exclude *.unrecoverable
exclude *.tmp
exclude *.temp
exclude *.swp
exclude .DS_Store
exclude Thumbs.db
exclude @eaDir
exclude .Trash-*
exclude lost+found/
exclude /tmp/
exclude /var/tmp/

# If you use Docker bind mounts inside /storage, exclude their working dirs
# exclude /docker/
Why multiple content files?
SnapRAID uses “content files” to track metadata about files and parity state. If you store content files only on one disk and that disk dies, recovery is more painful. Spreading them out makes the whole system more resilient.
Step 10: First sync (and your “sanity” checks)
Before you start: make sure the pool is mounted and your disks are mounted:
1
mount | egrep '/mnt/disk|/mnt/parity|/storage'
Now run a diff (safe):
1
snapraid diff
Then sync (this is the real parity build; it can take a while):
1
snapraid sync
After that:
1
snapraid status
Here’s what each of those diff/sync/status commands does…
difftells you what SnapRAID thinks changed since last sync (great before you commit hours of parity work)syncupdates parity to match current disk contentsstatustells you overall health, last sync time, and scrub status
Step 11: Why this post does NOT cover automating SnapRAID sync
This is important. SnapRAID is powerful, but blind automation is dangerous. A scheduled snapraid sync can permanently encode mistakes into parity if it runs under the wrong conditions.
Examples of unsafe scenarios:
- A disk silently dropped offline
- A large, unintended deletion
- Active writes during sync
- A degraded or partially mounted pool
Here’s the good news! It’s not actually super scary. This post is just really long, so I have another post that covers a safe script that covers all of these scenarios for you.
Step 12: Common Questions: the “how do I add a new disk later?” workflow
This is the part that makes SnapRAID + mergerfs feel magical.
- Physically add disk / present it to the OS
- Partition + format it like the others
- Create mount point
/mnt/disk4 - Add fstab UUID line and mount it
- SnapRAID: add data d4
/mnt/disk4/and add another content line - mergerfs: if your fstab uses
/mnt/disk*, it automatically includes it - Run:
1
2
snapraid diff
snapraid sync
That’s it 🤓
Closing thoughts
This setup is still my favorite approach for managing bulk home media storage because it stays boring because it just works. It features:
- normal filesystems
- easy to manage
- easy to expand or even add parity levels
- mixed disk sizes (including combining smaller disks to make a bigger parity disk. Less disk waste.)
- normal mounts
- normal recovery (pull a disk, read it anywhere)
- one big pool view for apps and users
- parity protection + integrity checking built for media workloads
- mergerfs policies give you control of where your data ends up