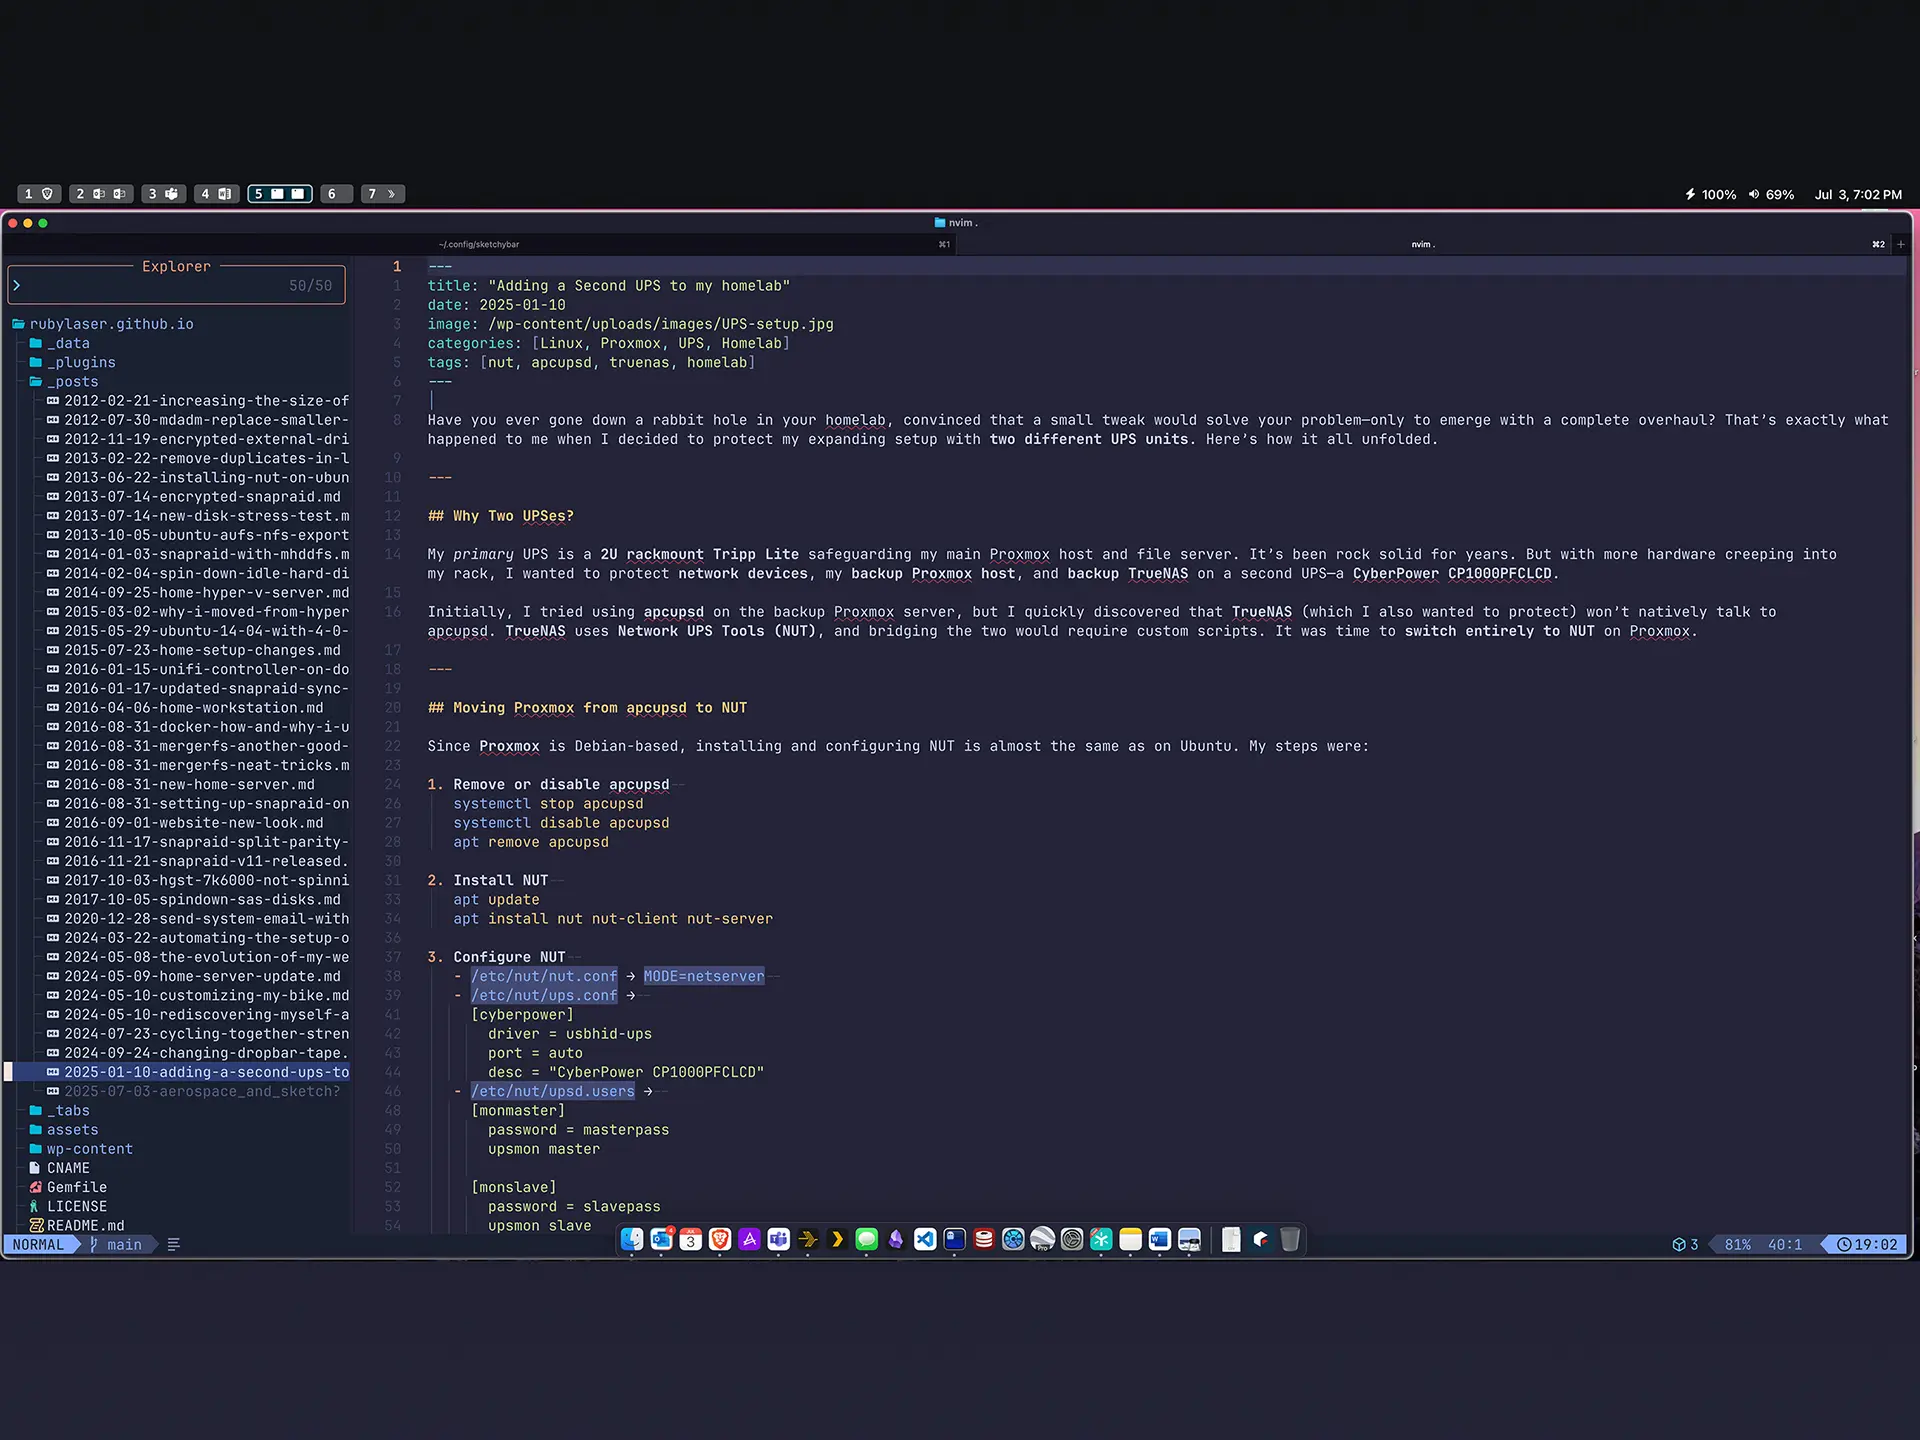
Dialing in My Tiling: My Full Aerospace + Sketchybar Setup on macOS
Making My MacBook More Keyboard Driven
After years of tweaking and testing, I’ve finally landed on a tiling window manager setup for macOS that doesn’t fight the operating system — it feels native. This post is a walkthrough of my current setup using Aerospace and Sketchybar, plus how I manage it all in Git with a clean, reproducible dotfiles repo.
Why Aerospace?
I’ve used yabai in the past, and while powerful, it always felt like I was fighting against SIP and macOS updates. Aerospace has been a breath of fresh air — minimal, declarative config, and works great with multiple monitors (even with my M1 MacBook Pro and its notched display).
The Multi-Monitor Padding Challenge
One small but annoying issue: Sketchybar lives at the top of each screen, but macOS doesn’t reserve that space the way a true Linux WM might. On my MacBook display, I need a top gap of 10px to leave room below the notch. On my two external displays, I need a top gap of 50px to keep windows from overlapping Sketchybar.
Thanks to Aerospace’s native support for per-monitor gap config, this is now handled entirely declaratively in ~/.config/aerospace/config.toml:
1
2
3
4
5
6
7
8
9
10
11
[gaps]
inner.horizontal = 8
inner.vertical = 8
outer.bottom = 5
outer.top = [
  { monitor."built-in" = 10 },
  { monitor."main" = 50 },
  50
]
outer.left = 5
outer.right = 5
No hotkey toggles, no scripts — just clean config that adapts automatically based on whether I’m docked or on the go.
Sketchybar Setup
Sketchybar drives my top bar across all monitors. I keep it simple:
Left side: active space indicators
Right side: Battery, Volume, and Date/Time
My Sketchybar config lives in ~/.config/sketchybar, and I restart it with:
1
brew services restart sketchybar
Terminal of Choice: Ghostty
I’ve switched to Ghostty as my terminal emulator — a fast, GPU-accelerated, cross-platform terminal with modern rendering and zero fluff. It feels lightweight and just works.
I keep my settings in ~/.config/ghostty/config and use a minimal Nerd Font theme with italics and ligatures enabled. I run Ghostty in combination with zsh and starship, and everything plays nicely.
Note: Ghostty sets its own terminal type (xterm-ghostty), so if you use nano, make sure your remote machines can handle that. On Ubuntu, I had to install the terminfo entry for full compatibility.
Shell Setup
I’m using Zsh installed via Homebrew:
1
brew install zsh
Then I set it as my default shell:
1
2
sudo sh -c 'echo /opt/homebrew/bin/zsh >> /etc/shells'
chsh -s /opt/homebrew/bin/zsh
I load my shell config from ~/.config/zsh/ and keep my ~/.zshrc minimal, mostly to source the rest.
Committing My Dotfiles
All of my config files — Aerospace, Sketchybar, Ghostty, Zsh, Starship, and more — live in ~/.config. I track them in a Git repo with a .gitignore that skips cache folders and anything sensitive.
1
2
3
4
5
6
cd ~/.config
git init
git remote add origin git@github.com:yourusername/dotfiles.git
git add .
git commit -m "Initial commit"
git push -u origin main
Here’s a link to my repo if you’d like to check some of these things out.
I also use gitleaks before pushing to make sure nothing secret accidentally makes it in:
1
2
brew install gitleaks
gitleaks detect --source ~/.config
Brewfile for Quick Setup
To make this setup portable, I exported my Homebrew packages into a Brewfile:
1
brew bundle dump --file=~/dotfiles/Brewfile --describe --force
Then on a new Mac, all it takes is:
1
brew bundle --file=~/dotfiles/Brewfile
Final Thoughts
I’ve now got a macOS setup that feels as productive as my Linux desktops — with buttery-smooth window tiling, consistent keyboard-driven workflows, and no surprises when I switch between my MacBook and dual-monitor desk setup. Ghostty, Aerospace, and Sketchybar each do their part — no hacks, no breakage, just flow.
Let me know if you’re interested in a deeper dive into my Sketchybar widgets or Ghostty theming next.
