Adding an extra disk to an mdadm array
Initial State
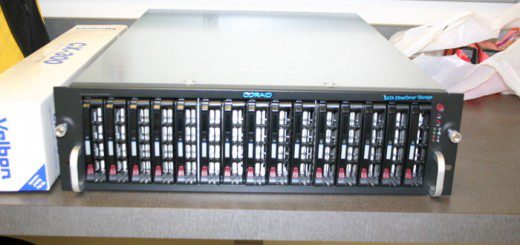
If you remember from part one, we setup a (3) disk mdadm RAID5 array, created a filesystem on it, and set it up to automatically mount. In this part, we’ll add a disk to an existing array to first as a hot spare, then to extend the size of the array. Growing a RAID-5 array with mdadm is a fairly simple (though slow) task. First you will need to prepare the new drive in the same we we prepared the initial drives in [part 1](http://zackreed.me/articles/38-software-raid-5-in-debian-with-mdadm). To start the actual growing of the array we then add the new drive to the array as a spare:
sudo -i mdadm --add /dev/md0 /dev/sdd1
Then we grow the array onto this device. Because I had 3 drives before, the new drive obviously makes 4. Make sure to change this to whatever number you now have! Let’s set up some options to make the array rebuild / recover faster… In this example, set it to 50000 K/Sec, enter:
echo 50000 > /proc/sys/dev/raid/speed_limit_min
echo 200000 > /proc/sys/dev/raid/speed_limit_max
As when creating the array, we can follow the progress by checking the file /proc/mdstat.
watch cat /proc/mdstat
Again, I like to wait for the operation to finish before attempting to grow the filesystem, but you should be able to do it while the array syncs if you’d like. At this point, you’ve added the disk to the array, and it should show up as a hot spare like this.
 md0 : active raid5 sdd1[3](S) sdc1[2] sdd1[1] sdb1[0]
 976751616 blocks level 5, 64k chunk, algorithm 2 [3/3] [UUU]
Growing the array and the filesystem
Adding this new drive to the array is ridiculously easy.
mdadm --grow /dev/md0 --raid-devices=4
As when creating the array, we can follow the progress by checking the file /proc/mdstat.
watch cat /proc/mdstat
Again, I like to wait for the operation to finish before attempting to grow the filesystem, but you should be able to do it while the array syncs. Since, I err on the side of caution, I let the array finish syncing and run a filesystem check to make sure everything is in order before I grow the array. Before we can run a filesystem check, we need to unmount it:
umount /dev/md0
Now that it is unmounted we can run a filesystem check to make sure everything is in order:
fsck.ext4 -f /dev/md0
If any issues arise, let it attempt to fix them for you. Once the filesystem has been checked we can perform the resize. If you decided to use something other than ext2/3/4 this will be done differently, but for the ext2/3/4 filesystems we use the resize2fs tool.
resize2fs /dev/md0
This will automatically grow the filesystem to the new size of the device. But, whenever you make a change to mdadm, you always want to remember to update your mdadm.conf file so that it reassembles correctly after a reboot.
echo "DEVICE partitions" > /etc/mdadm/mdadm.conf
echo "HOMEHOST fileserver" >> /etc/mdadm/mdadm.conf
echo "MAILADDR root@localhost" >> /etc/mdadm/mdadm.conf
mdadm --detail --scan >> /etc/mdadm/mdadm.conf
You can now remount the drive and start filling it up again!